High precision gearbox flange – Torque measurement on production parts by drift and elastic modulus compensation
Concept –Refining a series part
Climate goals, imminent driving bans, and the increasing competitive situation among car manufacturers, demand the use of high-precision measuring equipment, to optimize drive efficiency when developing new vehicles.
In the first step, these highly accurate measuring instruments are used on a test bench – often only for sections of the drive train. Here, optimal measurement conditions enable the direct identification of efficiency losses such as losses due to friction by the lack of lubrication on the drive parts.
The temperature and space available as well as the lack of a demanding driving environment like the possible interference fields by an electric motor while measuring enable the measurement of the newly developed drive efficiency with less effort.
However, after all components have been merged in the next vehicle development step, the measurement of the dynamic power flow value at the input and output of each component as a single value is insufficient to identify last percentage points of the drive optimization. For this purpose, measuring points must be implemented in the assembled vehicle under real driving conditions.
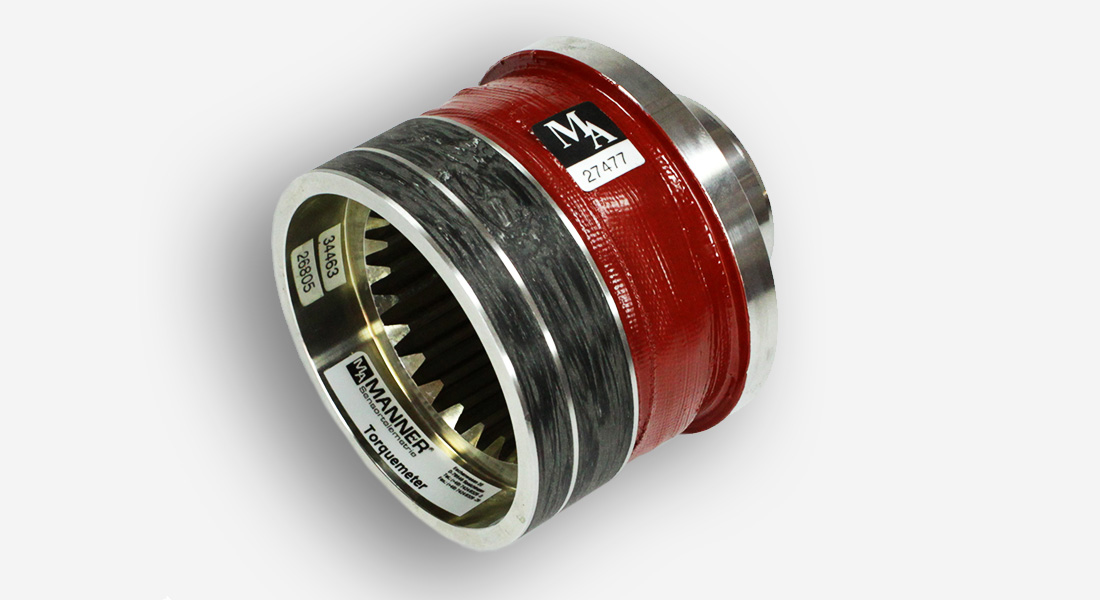
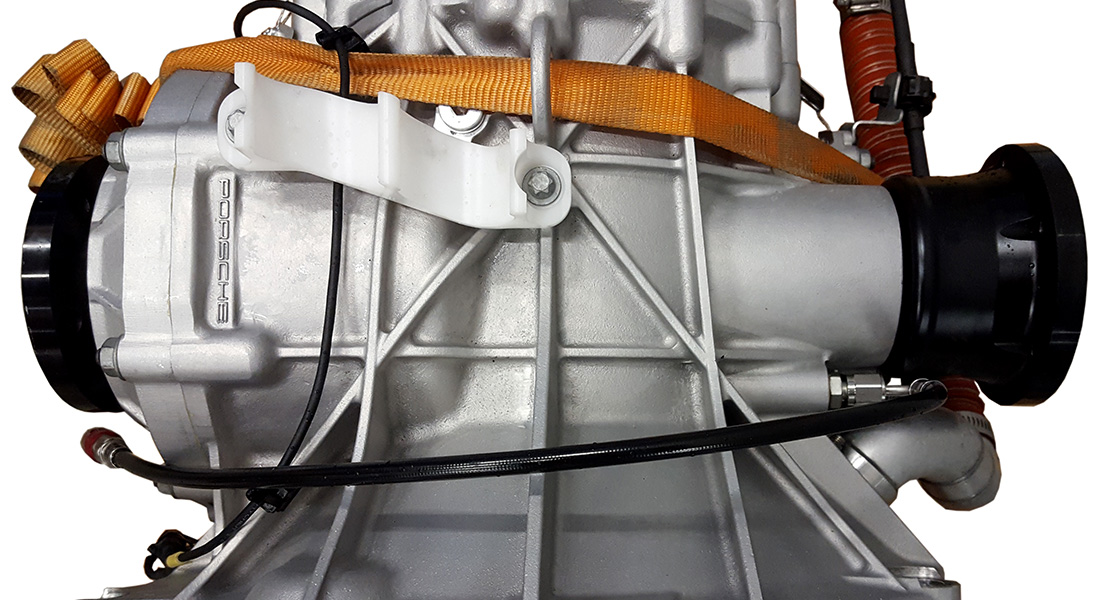
In addition to the half shafts a central element for determining the overall drive efficiency are the gearbox flanges. The decisive advantage of the gearbox flanges is the higher measurement accuracy that can be achieved due to the better material and its lower fatigue strength. A “floating” of the zero point by short-term overload peaks, as it is known for side shafts, does not exist.
Thus, the series gearbox flange at the output of the transmission and as connecting element to the half-shafts constitutes an ideal measuring instrument for optimizing vehicle development.
Challenge
The measurement on the serial gearbox flange in real vehicle operations under demanding endurance tests, places special demands on the measuring technology.
For measurement applications in real vehicle operations, the measurement technology is required to meet the high environmental requirements and space conditions:
- Amplifier technology with at least two high-precision measuring channels per measuring point: strain gauge and temperature measuring channel
- Intelligent amplifier technology with zero-point adjustability and integrated health monitoring of the system
- Measurement signal with 16-bit resolution, high sampling rate and sufficient transmission bandwidth for dynamic measurement (standard 1 kHz, optional more)
- Vibration- and speed-resistant components with flexible, miniaturized form factor and high temperature endurability
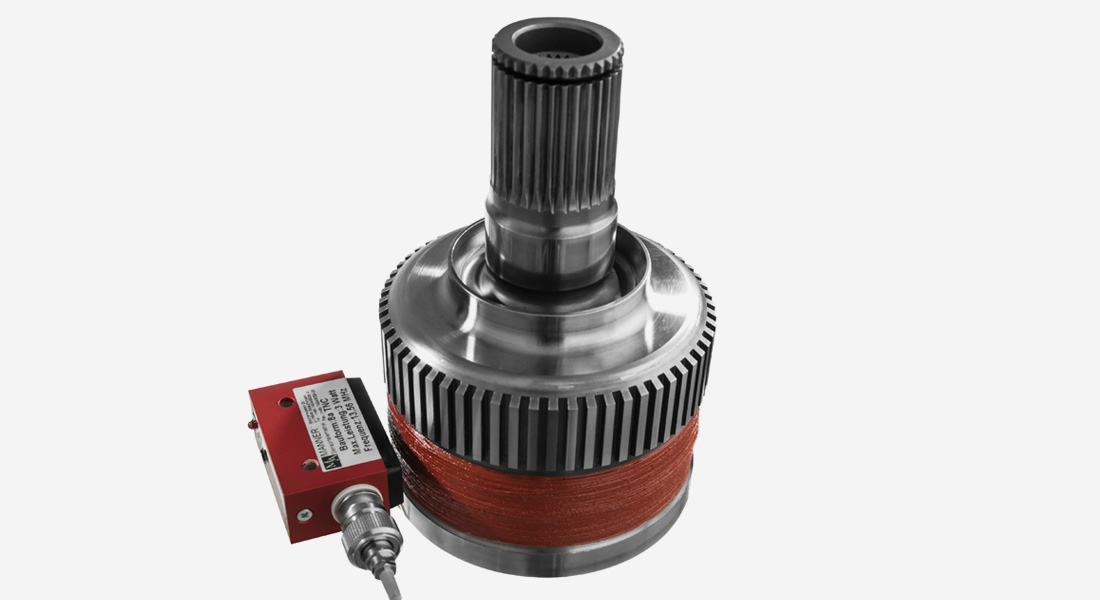
- Reliable inductive transmission technology, undisturbed by EMC sources
Although the gearbox flange as an original series part does not have the optimum material characteristics in terms of sensor quality compared to a test bench sensor, it is better suited than the series half shafts. Nevertheless, due to the high temperature at the gearbox high measurement errors are to be expected without any countermeasures. Depending on the type of vehicle, under real environmental conditions a temperature range of -40 ° C … + 150 ° C can be expected.
Both the conventional non-linear zero-point drift as well as the elastic modulus change (change in the material stiffness) need to be compensated for in a refined torque series part. Only in this way is it possible to ensure the demand for measuring accuracy over the entire driving operating temperature range, and thus to accurate record, of friction losses as an example.
Without compensation measures, one has to expect considerable deviations in the measured value as a result of these effects. Since both measurement errors do not behave linearly, general compensation methods are inadequate for highly accurate measurements.
Solution
For the production of a high-precision measuring element from a series part such as the gearbox flange, MANNER has developed two compensation methods in addition to our highly accurate, miniaturized and maintenance free inductive measuring technology.
In order to compensate for the zero-point drift, the zero offsets are recorded with a specific method and stored in the rotor measuring amplifier (sensor signal amplifier). The sensor signal amplifier then performs in real time the correction of the zero-point depending on the real environment temperature changes within the measurement process.
This compensation alone can significantly reduce the measurement error, depending on the steel quality.
For even higher demands on the measuring element, the compensation of the elastic module error can additionally be carried out. For this purpose, MANNER has developed a real-time signal processor which calculates the real torque value from several recorded variables such as the torque value and the sensor temperature and other with a corresponding method. The developed mathematical procedure then allows a real time high-precision value correction.
Through the use of both correction methods, torque transducers can be realized that deliver constant measured values over the entire ambient temperature range with an accuracy of better than 0.05%.
In addition to the gearbox flange solution presented here, MANNER also offers the refinement of other serial parts. Both transmission input shafts, flex plates and half shafts can be refined by our know-how such as this compensation methods to produce highly accurate measuring equipment.


